
REMINDER: PLEASE ENSURE THAT YOU ENCRYPT YOUR WALLET AND KEEP A COPY OF YOUR PASSWORD AND WALLET.DAT IN A SAFE PLACE. IF YOU LOSE THESE, YOU LOSE YOUR TOKENS.
There are three main ways to stake your Hemis tokens.
| Type | Who is this for? |
|---|---|
| Local Hot Wallet (Easiest method) | People who can keep their computer turned on 24/7 |
| Local Cold Wallet -> Self Hosted VPS | People who can’t keep their computer turned on 24/7 and have some technical skills. |
| Local Cold Wallet -> Friend or Service | People who can’t keep their computer turned on 24/7 but have a friend or service who they can ask to cold stake for them. |
Local Hot Wallet (EASIEST)
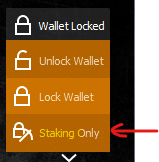
Staking is easy! All you need to do is leave your wallet open (preferably 24/7) and ensure that your wallet is unlocked for staking by choosing this option from the top right hand corner of the wallet.
When you receive your tokens you will have to wait for them to receive 300 confirmations before staking will start. This will take a minimum of 6 hours…please be patient! Your wallet does not have to be open while these confirmations happen but you will need to have your wallet open to receive staking payments.
Local Cold Wallet with Self Hosted Hot Wallet On VPS
Step 1 (Check your local wallet):
Ensure that the wallet that contains your Hemis tokens is open and syncronised.
Step 2 (Setup your VPS):
Start a VPS instance with your chosen provider. You’ll need 1GB of memory and Ubuntu 22 or 23.
Log in to your VPS and paste the following command:wget https://raw.githubusercontent.com/Hemis-Blockchain/Hemis/main/vps-install.sh && bash vps-install.sh
This will install the latest version of Hemis onto your VPS. Wait for it to finish.
You should see a message:Hemis server starting
Give it 5 minutes to download the blockchain and synchronize.
Then, still on your VPS, typeHemis-cli getnewstakingaddress
This will return a Hemis address. Copy this and save it.
Step 3:
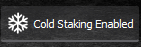
Go back to your local Hemis wallet on your computer. Here, click the snowflake on the top-right (cold-staking enabled).
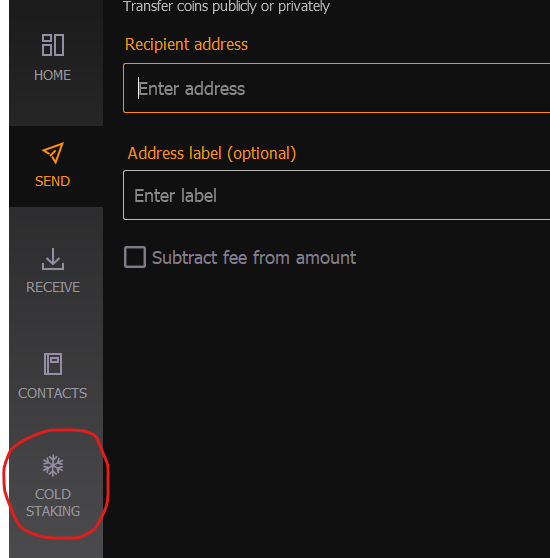
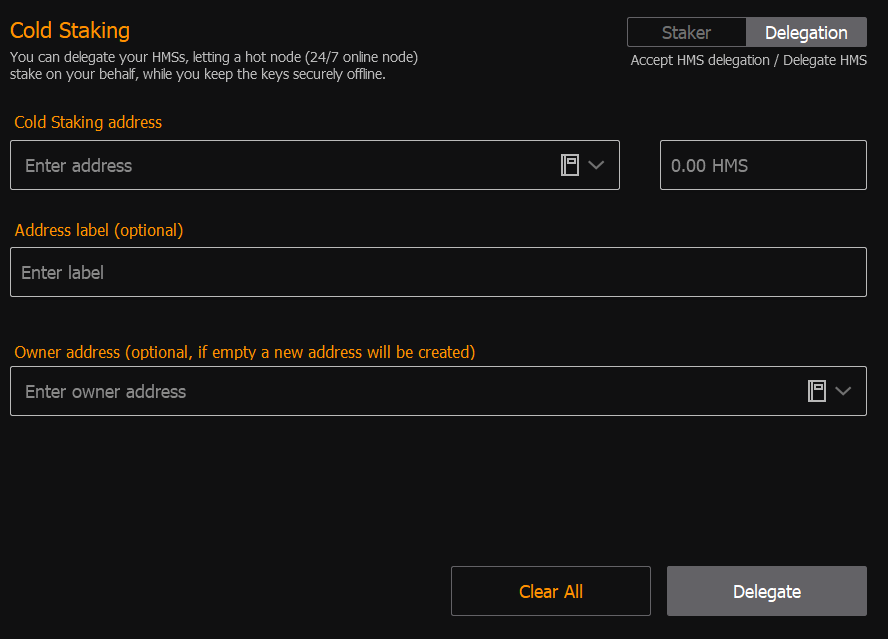
This will open a new button in your wallet menu on the bottom left called ‘COLD STAKING`. Click that.
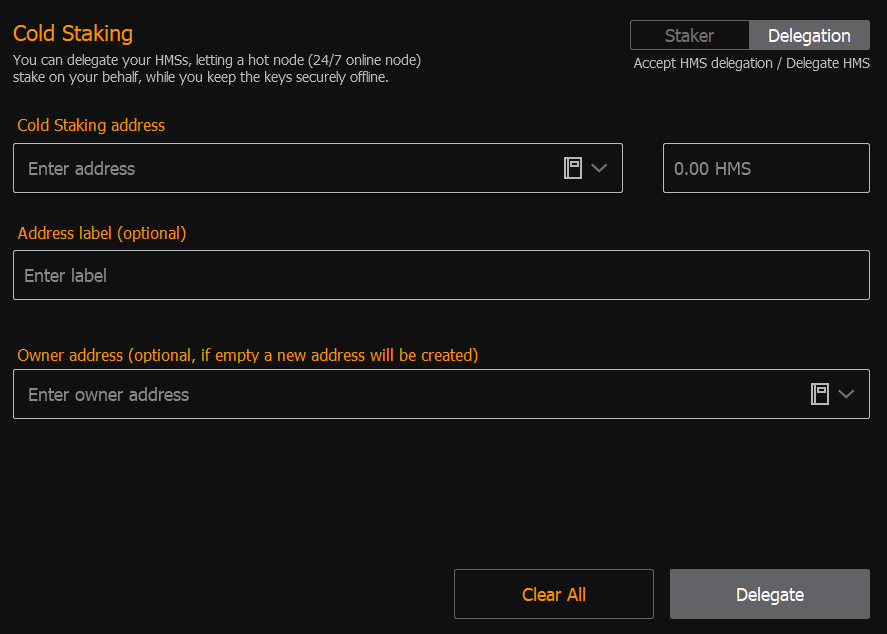
In the field Cold Staking address you will paste the address we got in step 2.
Next to it you’ll fill in the amount of tokens you want to stake.
You can leave the Label and Owner address boxes empty.
Now click Delegate
This will send a very simple contract to the network. It says that your delegate (your VPS) can stake on behalf of your (cold wallet) tokens.
Step 4:
We’ll need to let the delegate (your VPS) know that it is OK to stake your tokens.
For this, go to COLD STAKING, click on Staker, click on whats listed under ‘Delegated balance history’ and copy the address.
Next, go to your VPS and type:Hemis-cli delegatoradd <ADDRESS>
Paste in the address we just copied. The VPS will returntrue
Step 5:
You are now cold staking Hemis. it will take >300 confirmations (>5 hours) until you are eligible for staking. Please be patient.
Local Cold Wallet with Friend or Service Provider
Part 1: Preparation
Coin Holder (Cold Wallet):
- Update and Backup Wallet: Ensure your Hemis wallet is updated to the latest version. Back up your wallet to secure your coins in case of a hardware failure.
- Understand Cold Staking: Familiarize yourself with the concept of cold staking and its benefits, such as earning rewards while enhancing security.
Staker (Delegate/Hot Wallet):
- Set Up Staking Wallet: Install the latest version of the Hemis wallet and complete the initial setup if you haven’t done so already. Your wallet must remain online 24/7 to stake effectively.
- Generate a Staking Address: Within the wallet, generate a new address dedicated to staking. This address will be used to receive the delegation from the coin holder. To do this, enable the cold staking menu by clicking the snowflake in the top right hand corner of the wallet.

Once the cold staking menu has been enabled, click it. Then click Staker, choose Create Cold Staking Address and enter your password if requested. You will then be presented with the following window.
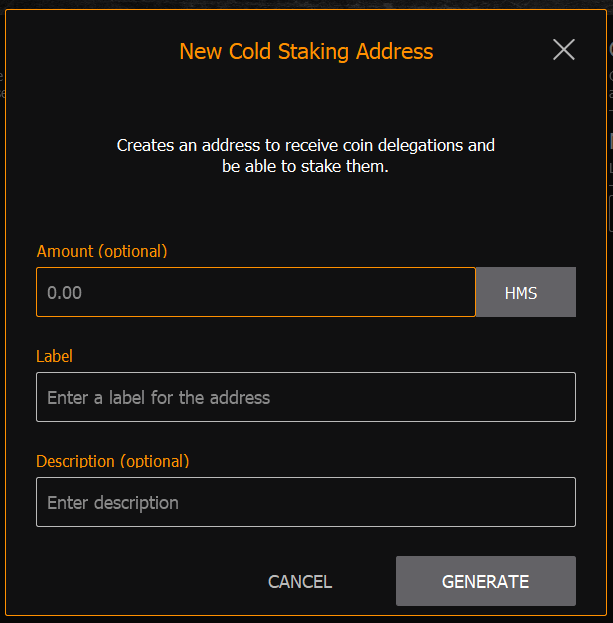
If you like you can set a limit of how many tokens somebody can stake with you. Its useful to add a lavel and a description so you can keep track of who is staking their tokens with you.
Part 2: Initiating Cold Staking
Coin Holder:
- Create a Delegation Contract:
- Navigate to the cold staking section of your Hemis wallet.
- Select the option to delegate coins for cold staking.
- Enter the amount of HMS that you wish to stake.
- Input the staking address provided by your friend.
- Confirm the transaction by clicking
DELEGATE.
Staker:
- Accepting the Delegation:
- Ensure your accept the delegation in the cold staking section of the wallet.
Part 3: Monitoring and Managing
Coin Holder:
- Monitor Staking Activity: Use your wallet to track the staking process and rewards.
- Withdraw Rewards: You can spend your rewards at any time without affecting the staked amount or the staking process.
Staker:
- Ensure Wallet Connectivity: Keep your wallet connected to the internet and running. Regularly check to ensure it is staking correctly and not experiencing any issues.
- Communicate with the Coin Holder: Update the coin holder on the staking performance and any potential issues with the wallet or network.
Part 4: Security and Best Practices
- Trust and Communication: While staked coins are not risked, cold staking still relies on trust between the coin holder and the staker. Maintain open lines of communication and ensure both parties are clear on expectations and responsibilities.
- Security Measures: Both parties should practice good security hygiene, such as using strong, unique passwords for their wallets and keeping their backup phrases secure and private.
- Regular Updates: Ensure both wallets are kept up to date with the latest software versions to benefit from security patches and new features.